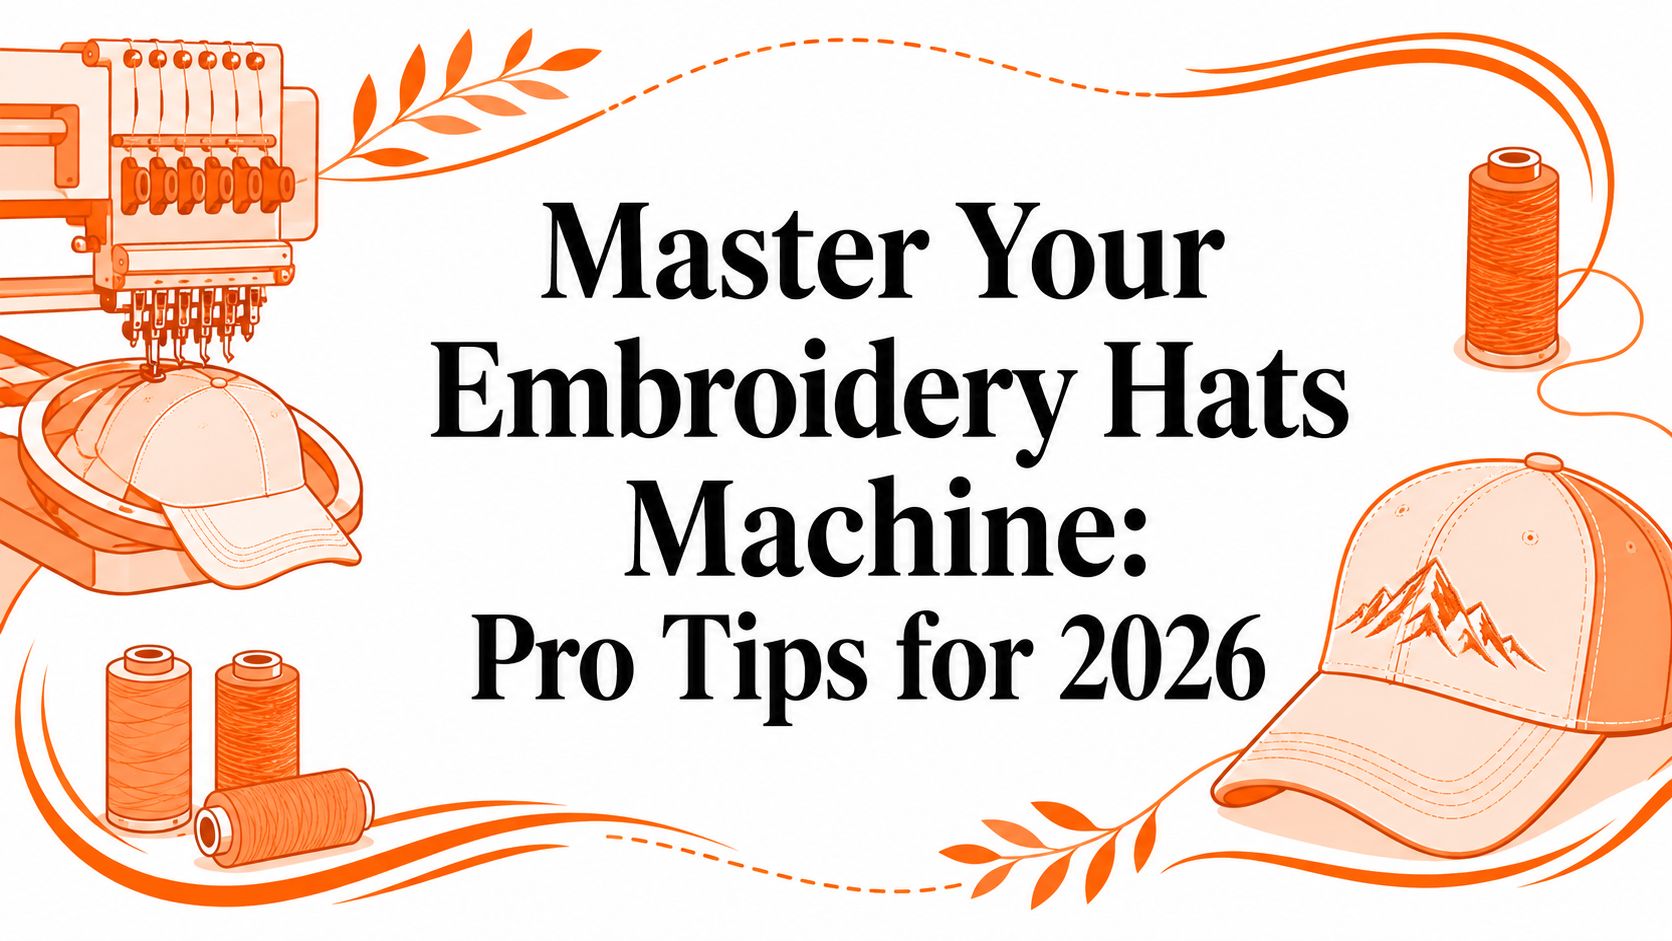
Meta description: Master your embroidery hats machine with pro setup, hooping, calibration, and speed tips for clean cap embroidery and fewer costly mistakes.
You've got a blank cap in one hand, a digitized file on the screen, and an embroidery hats machine that looked a lot less intimidating before the first real job. That's where most mistakes start. Not because the machine is bad, but because hats punish shortcuts faster than flat garments do.
Cap embroidery looks simple until the needle clips a frame, the center seam throws off registration, or a clean logo on screen turns into a distorted stitch-out on the crown. The fix usually isn't “buy a better machine.” It's better setup, smarter speed control, and tighter calibration.
Your First Step in Professional Hat Embroidery
Embroidery on headwear carries weight. It reads as finished, intentional, and professional in a way printed hats often don't. That's why branded caps keep showing up in uniforms, merch tables, golf events, team wear, and creator drops.
That standard didn't appear overnight. The modern embroidery hats machine traces back to 1832, when Josué Heilmann introduced the first hand-operated embroidery machine, mechanizing a craft that had already existed for 30,000 years and helping embroidered apparel move from status symbol to professional standard, as noted in this history of embroidery.
If you're stitching your first cap, the right mindset is simple. Treat hats as their own category, not as a smaller shirt project. The curve changes everything. The seam changes everything. The pressure you can get away with on a flat hoop won't save you here.
What separates clean hats from amateur hats
A professional result usually comes down to three things:
- Correct setup: The right frame, backing, and machine attachment matter before the design ever runs.
- Cap-aware digitizing: Good artwork still fails if it wasn't prepared for a curved surface.
- Controlled execution: Hooping, calibration, and speed decisions decide whether the logo lands sharp or drifts.
Practical rule: If a cap job feels harder than a left-chest logo, that's normal. Hats demand more control, not more guesswork.
That's also why good reference material matters. If you want to study how embroidery changes the perceived value of athletic and branded headwear, this look at custom embroidered golf hats is useful because it shows the kind of finished presentation customers expect from premium cap work.
The first decision that saves material
Don't start with your most difficult cap.
Use a hat with a cooperative front panel, a straightforward logo, and thread colors that make registration easy to inspect. Beginners often choose a dense design with tiny lettering on a structured front, then blame the machine when the result goes sideways. Start with a forgiving project and build control first.
That approach saves hats, thread, and time. What's more, it helps you learn what your machine does under real cap tension.
Gearing Up with the Right Frames and Stabilizers
Cap embroidery starts with hardware. A standard flat setup won't reliably control the crown of a hat because the surface geometry is different. A true hat embroidery machine setup uses dedicated tools to secure that curve and keep the sewing field stable.
A hat embroidery machine is built for curved surfaces and typically uses a 12cm round hoop and cap backing to secure the item, which is why it can handle jobs that flat-fabric setups struggle with, as explained in this guide to a hat embroidery machine.

What each tool actually does
You need to know the job of each component, not just the name.
| Tool | What it controls | Where people go wrong |
|---|---|---|
| Cap frame | Holds the hat in embroidery position | They clamp too loosely and let the crown shift |
| Cap driver | Lets the machine run the framed cap properly | They skip it and try to improvise with a flat setup |
| Round hoop | Useful for back-of-cap embroidery | They use the wrong size and lose alignment |
| Cap backing | Stabilizes the stitching area | They under-support soft caps and get distortion |
Matching stabilizer to the hat
Not every hat behaves the same. That's where a lot of wasted blanks come from.
- Structured caps: These already have a firmer front, so the goal is to support the stitching area without overloading the cap.
- Unstructured caps: These need more help. Without proper backing, the fabric can distort during the run.
- Low-profile or softer hats: These often look easy, but they move more than people expect if the backing doesn't stay flat.
Use enough backing to support the embroidery field cleanly. If the hat can flex under the design while sewing, the final shape won't hold.
For anyone choosing blanks, fabric behavior matters as much as machine settings. This guide to the best fabrics to embroider on is a solid reference when you're comparing cap materials and trying to avoid puckering or pull.
What works in real production
A few shop-floor habits consistently help:
- Use the attachment designed for caps: Workarounds usually cost more in ruined hats than the accessory would have.
- Cover the full embroidery area with backing: Partial support leads to uneven tension.
- Check the crown shape before hooping: A crushed front panel won't magically straighten itself under the needle.
- Keep a dedicated hat setup ready: Swapping from flat goods to caps without resetting invites registration errors.
The best cap jobs look easy because the setup was disciplined. Most failures were already baked in before the first stitch.
Prepping Your Artwork for Perfect Stitches
A clean screen preview means nothing if the file wasn't prepared for a curved surface. Hats expose weak digitizing fast. Sharp corners can bunch. Small text can fill in. A logo that looked balanced on a flat mockup can drift visually once it crosses a seam.

What to check before digitizing
Think of artwork prep as a pre-flight review. Don't send art to the machine until these points are settled:
- Design width and height: The cap's usable area is not the same as a flat chest print area.
- Center seam interaction: If a key detail lands on the seam, expect trouble unless the design was built to account for it.
- Letter size: Small lettering on hats is where a lot of otherwise good logos fail.
- Stitch path: Direction matters on caps because the surface resists the needle differently than flat fabric.
A strong digitizer will simplify where needed, open up tight areas, and sequence the design to reduce shifting on the crown.
A practical art checklist
Before you run a file on an embroidery hats machine, verify this:
- Text is readable at stitch size: Not just on a monitor.
- Shapes have room to breathe: Tight gaps tend to close up on caps.
- Color layers are sequenced cleanly: Too many unnecessary stops create extra chances for movement.
- Density is controlled: Dense fill over a curved surface can get ugly fast.
- Underlay supports the shape: Not just the fill.
If a customer insists on tiny details that the cap won't hold, simplify the logo for headwear instead of forcing the full version.
That's the practical value of a professional digitizing service. If you need files built specifically for embroidery production instead of generic artwork conversion, embroidery design digitization is the kind of service worth using because cap-ready files need different judgment than flat-garment files.
What doesn't work
The most common bad move is scaling down a left-chest file and hoping it behaves on a cap. It usually won't.
Another mistake is preserving every fine line from the original brand mark. Hats reward clarity, not stubbornness. A simplified, cap-specific version usually looks better on the finished product than a technically faithful but muddy stitch-out.
The Art of Hooping and Calibrating Your Machine
Most cap failures happen here. Not in the digitizing software, and not because the machine “just did something weird.” Hooping and calibration decide whether the design tracks straight, clears the frame, and lands where you intended.
Start with a clean hat. Make sure the crown is shaped properly and the sweatband is out of the embroidery path. Align the cap so the center seam sits exactly where your frame expects it. If the hat is even slightly off, the machine will exaggerate the error as soon as the stitching starts.

The alignment habits that prevent wasted hats
A reliable hooping process usually looks like this:
- Seat the cap fully in the frame so the crown doesn't float.
- Match the center seam to the frame marks before tightening anything.
- Pull the cap smooth at the crown and peak area without forcing distortion.
- Lock the strap firmly so the hat can't creep during the run.
- Check clearance by hand before pressing start.
If the cap can shift, it will. If the bill can contact the machine, it eventually will.
For finished products and placement ideas, it helps to review examples of professionally produced custom embroidery caps so you can compare placement balance and stitch cleanliness against your own output.
The machine settings beginners skip
Calibration is where a lot of operators get vague. That's a mistake. Specific frame depth and position settings matter on caps.
Improper calibration, including incorrect frame depth or wrong X and Y settings such as 63 mm X and 50 mm Y, can cause hoop burn and needle collisions, according to this cap tutorial from Embroidery Legacy.
Hats are among the hardest items to recover once hoop burn shows up. Prevention matters more than cleanup.
Those values aren't decorative menu fields. They control where the machine expects the frame to sit. If the driver depth isn't fully lowered correctly, or if the frame position is off, the needle path and the physical cap path stop agreeing. That's when you see rubbing, strikes, and ugly marks.
Here's the practical test. Mount the cap, load the design, and trace the path slowly before stitching. Watch the hat, the frame, and the bill. You're checking for clearance and registration, not just whether the machine moves.
A visual walkthrough helps when you're dialing in the process:
What experienced operators do differently
They don't treat calibration as a one-time setup. They check it whenever they change hat style, frame configuration, or placement.
They also don't assume “close enough” is safe on hats. A millimeter mistake on a cap shows up faster than it does on a sweatshirt. Tight process discipline is what keeps your blanks sellable.
Mastering Stitch Speed and Solving Common Issues
Cap embroidery is where speed can wreck quality. Operators love a fast machine until the logo starts drifting, the needle heats up, or small text turns mushy. On hats, production speed has to match cap structure and design complexity.
For structured caps, the safer range is 500 to 600 stitches per minute, while softer hats can run at 600 to 700 stitches per minute. Small-lettering designs may need speeds as low as 550 SPM for clarity, based on these cap embroidery guidelines from ColDesi.

Why slower often looks better
Structured hats resist the needle more aggressively. That resistance can throw off registration if you run too fast, especially over seams or dense sections. Softer hats usually allow a little more speed, but they also move more if the hooping is weak.
This is the trade-off behind Quick, Quality, Printing!™. Fast output matters, but cap embroidery punishes blind speed. Shops that get reliable results know when to back the machine down and let the file sew cleanly.
The fastest cap run is the one you don't have to redo.
Common problems and the fix
| Problem | Likely cause | Practical fix |
|---|---|---|
| Needle breaks | Speed too high for a structured cap or poor frame clearance | Slow the machine and recheck clearance |
| Misregistration | Hat shifted, speed too aggressive, or file too demanding for the cap | Tighten hooping and reduce speed |
| Puckering | Weak stabilization or over-dense stitching | Improve backing support and review digitizing |
| Thread breaks | Excess friction, poor pathing, or unstable cap movement | Slow down and inspect thread path and cap tension |
| Bird's nests | Bad startup, movement, or tension issue | Stop immediately and clean up before restarting |
A better way to choose speed
Don't pick one house speed for every hat.
Use this logic instead:
- Rigid front, center seam, dense logo: Stay toward the lower end of the cap range.
- Soft crown, simpler art: You can push speed higher if the hat stays stable.
- Small text or detail-heavy marks: Slow down even if the machine could run faster.
- Test sew shows edge wobble: Drop speed before changing ten other variables.
The embroidery hats machine doesn't need to prove how fast it is. It needs to produce a cap you can hand to a client without apology.
Finishing Touches and Starting Your Next Order
Once the machine stops, inspect the hat like a finisher, not like the operator who wants the job to be done. Trim backing cleanly. Check the front for marks, thread tails, and registration drift. Make sure the inside feels neat and wearable, especially around the sweatband area.
A good cap should look sharp from arm's length and hold up under close inspection. If the back looks messy or the crown feels stiff in the wrong place, the customer will notice. Finishing is part of quality, not an afterthought.
When DIY stops being the best move
Running your own cap jobs makes sense when you need control, fast sampling, or small test batches. But once you're handling repeat orders, team uniforms, event merch, or multi-design brand drops, consistency becomes the main challenge.
That's also where extending embroidery into other premium items can make sense. If you're building a broader branded line beyond caps, it's worth seeing how other products use personalization well, like ways to add unique embroidery to your robes for gift, hospitality, or lifestyle applications.
Scale without losing control
For larger production needs, cleaner systems win:
- Use approved art files: Don't let every reorder start from scratch.
- Standardize placements: Consistency matters more than improvisation.
- Track order details carefully: Color, cap style, thread choice, and placement notes should stay attached to the order.
- Use mobile workflow when you can: The TSE mobile app makes it easier to upload designs, manage corporate or bulk orders, and keep tabs on production status without being tied to a desk.
If you're building a brand, outfitting a team, or managing event merchandise, that kind of workflow matters as much as the stitching itself.
Ready to turn clean cap embroidery into polished merch and branded apparel that scales? T-Shirt Envy makes it easy to move from one-off ideas to repeatable production with fast turnaround, premium embroidery, and simple online ordering. Download the TSE mobile app, upload your design, manage bulk orders, and experience Quick, Quality, Printing!™ Start your custom order today.


