The rush order usually lands the same way. The event date is fixed, the headcount keeps shifting, and someone still expects the hats to look clean, on-brand, and ready on time.
That pressure exposes every weak decision fast. The wrong blank can throw off the fit. Artwork built for a flyer can fail on a curved front panel. A decoration method that looks fine on screen can slow production or fall apart on a deadline.
Knowing how to make custom hats starts with treating the hat like a real product, not a last-minute add-on. A good custom hat stays in rotation long after the event, which makes it one of the few branded pieces that can keep earning attention without another ad spend.
For a business launch, school event, tournament, fundraiser, or trade show, that trade-off is clear. Cheap, rushed hats save a little money up front and cost you wearability. A well-planned order moves faster through production, looks better in hand, and gives people something they will keep.
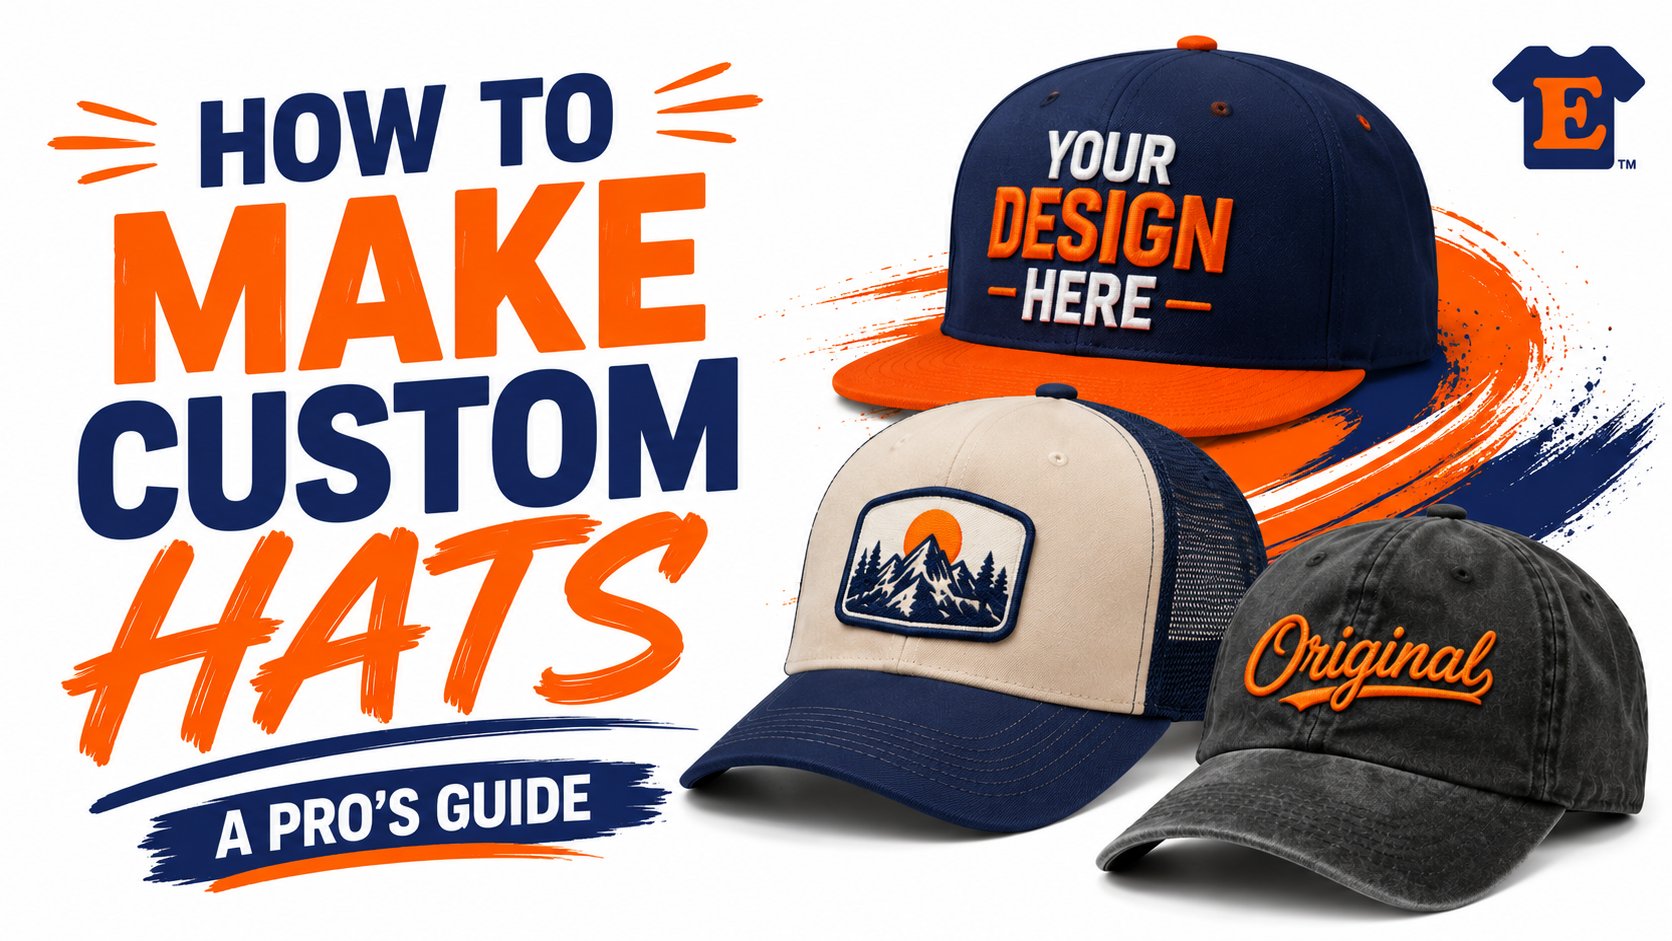
Your Vision on a Visor Starting Your Custom Hat Project
Friday afternoon is when these orders usually hit. A sales team needs hats by Wednesday for a trade show. A restaurant group wants staff caps before a grand opening. An event planner has the venue, the sponsor banner, and the guest list, but no approved hat yet. Speed matters at that point, but speed without a clear plan usually leads to the wrong blank, a delayed proof, or decoration that looks fine on screen and weak in hand.

Start with the use case
Before any art gets cleaned up, lock down the job itself. Who is wearing the hat, how long do they need it to hold up, and what does the hat need to communicate from a few feet away? Those answers shorten approval time and prevent expensive revisions.
A contractor crew, a campus merch table, and a conference booth team may all ask for “custom hats,” but they are buying three different products. Work crews usually need durability, sweat control, and a logo that stays readable after repeat wear. Promo giveaways need broad appeal and a fit that works for a mixed audience. Retail merch has less room for compromise because buyers judge shape, feel, and finish right away.
Use this filter before you approve a single mockup:
- Uniform use: keep branding clear, repeatable, and easy to reorder without changing thread colors or placement
- Promotional giveaway: pick a style with broad wearability so more recipients keep it
- Retail or creator merch: spend more attention on silhouette and finish because perceived value starts with the blank
- Outdoor event use: prioritize airflow, sweat performance, and colors that still look clean after a long day outside
One sentence should define the wearer. If that sentence is fuzzy, the project is still too loose for a rush timeline.
Set the direction before the design
Clients often start with the front logo. I get why. It feels like the main decision. In production, it rarely is.
The hat itself drives the result. Crown shape changes how artwork reads. Panel seams limit placement. Closure style affects who will wear it. If the project is heading toward stitched decoration, it helps to review examples of custom embroidery caps for business and event use before finalizing artwork, because embroidery behaves very differently from a flat digital logo.
The strongest rush orders come in with a short, usable brief. Brand or event name. Needed in-hands date. Estimated quantity. Budget range. Preferred hat style, if there is one. That gives the shop enough to quote the right path fast, flag problems early, and keep the order moving without five rounds of guesswork.
Clean direction saves time. It also saves money.
As noted earlier, custom hats tend to stay in use longer than many throwaway promo items. That is why the early choices matter so much. A good project starts with the wearer, the deadline, and the practical use case, then builds the design around those limits instead of fighting them.
Selecting the Right Hat Style and Material
A rush hat order usually gets won or lost here. Pick the right blank early, and production stays fast. Pick the wrong one, and every later decision gets slower, from art approval to decoration to final QC.

Match the style to the audience
Hat style is not just a fashion call. It affects who will wear it, how the logo reads, and how safely you can move on a tight deadline.
| Hat style | What it does well | Watch out for |
|---|---|---|
| Dad hat | Soft, casual, easy to wear | Less structure can reduce logo impact |
| Structured snapback | Crisp front panel, strong logo presentation | Can feel too rigid for some audiences |
| Trucker cap | Breathable and outdoor-friendly | Mesh and seams limit some placements |
| Visor | Great for active outdoor use | Less decoration area |
| Beanie | Strong seasonal merch option | Not right for warm-weather campaigns |
For broad giveaway use, dad hats and truckers usually create fewer fit complaints. For staff uniforms, sponsor merch, and event crews who need a cleaner branded look, structured caps almost always present the logo better because the front panel stays upright.
I push clients to decide based on use, not preference alone. A startup team may love the look of a flat-bill snapback, but if the hats are going to a mixed-age charity walk, a lower-profile dad hat often gets worn more often.
Fabric changes the result
Fabric controls comfort, decoration quality, and how the hat holds up after a long day.
- Cotton twill: dependable, familiar, and easy to decorate with embroidery or transfers.
- Performance polyester: better for heat, sweat, and active use.
- Mesh-back builds: good airflow, but decoration is usually limited to the solid front panel.
- Wool blends or premium fashion blanks: stronger retail feel, but they raise the cost and put more pressure on the design to look polished.
For a Vegas trade show or summer golf event, I usually steer clients toward performance polyester or a trucker build instead of heavy cotton twill. Cotton can look great at setup and feel rough by mid-afternoon once the wearer is hot and the sweatband starts working. Polyester keeps its shape better in that setting and usually gets fewer complaints from event staff who have to wear the hat all day.
Soft hats tend to mute a logo. Structured hats give it more presence.
Budget for the blank you actually need
Blank cost varies by brand, profile, fabric, and closure, so it is smarter to quote from current supplier inventory than rely on a generic average. In practice, house-brand caps sit at the low end, established retail names cost more, and specialty builds climb quickly once you add performance fabric, premium closures, or fashion-forward shapes. That spread matters fast on volume orders.
The cheapest cap is rarely the fastest path if you care about the result. Low-cost blanks are more likely to have weak front panels, rough sweatbands, inconsistent sizing, or closures that feel flimsy in hand. Any one of those can turn a decent-looking mockup into a hat people never wear.
If the job calls for a stitched logo, review custom embroidery caps for business and event use before locking the blank. That narrows the field quickly because some hats hold embroidery better than others.
A simple shop test saves time. Handle the blank. Press the front panel. Check the seam placement. Open and close the strap or snap. If the cap feels cheap before decoration, it will still feel cheap after decoration.
From Digital Design to Production-Ready File
A hat design can look perfect on a phone screen and still fail in production. Most of the trouble comes from artwork that wasn't built for the method being used. Thin lines disappear. Tiny text fills in. Colors shift. The curve of the panel exposes problems that weren't obvious on a flat mockup.

Build the art for the hat, not the monitor
For heat-applied methods, file quality is not optional. Artwork should be a 300 DPI vector file for professional results with heat press methods like DTF, according to ColDesi's hat customization guidance. That gives the production team clean edges and scalable art that won't break down when resized.
A few file-prep rules save a lot of pain:
- Use vector when possible: logos, icons, and lettering stay cleaner.
- Keep details bold: hats don't give you the same room as a full shirt front.
- Separate complex concepts early: if the art relies on gradients, textures, or photo detail, say that before choosing embroidery.
- Respect the panel shape: a curved front panel changes how spacing reads once worn.
What usually works best
Simple logos with clean edges almost always move through production faster. Full-color art can work, but only when the method supports it and the blank cooperates.
Numbered checklist time, because rushed orders often break at this stage:
- Export the cleanest file you have. AI, EPS, SVG, or a high-quality print-ready file beats a screenshot every time.
- Remove unnecessary micro-detail. If someone needs to zoom in to see it, it probably won't survive on a cap.
- Confirm placement intent. Front center, side panel, and back hit all behave differently.
- Ask how the art will be decorated. The method affects what should stay, what should be simplified, and what should be rebuilt.
Bad hat art usually isn't ugly. It's just built for the wrong surface.
Speed matters in the approval loop
If you're working on the go, the process can either stall or move forward at this stage. Uploading art, approving a mockup, and checking order status from the TSE mobile app is useful when the buyer isn't sitting at a desktop. For event planners and business owners, that cuts out a lot of back-and-forth and keeps the project moving while decisions are still fresh.
The main goal is simple. Give production a file they can use, not one they have to rescue.
Choosing Your Customization Method
Most hat problems aren't design problems. They're method problems. Clients choose a look they like, then pair it with a decoration process that can't reproduce it cleanly on the chosen cap.

Embroidery for logos that need authority
Embroidery stays popular for a reason. It looks established. It adds texture. It holds up well in daily wear. For company marks, team logos, and straightforward branding, it's usually the first method worth considering.
That said, embroidery has limits. Tiny type, soft gradients, and photo-real detail don't translate well. If you push too much detail into stitching, the design gets muddy.
A few situations where embroidery usually wins:
- Corporate identity: the raised finish looks polished on uniforms and branded staff wear.
- Team and school marks: bold shapes stitch clearly.
- Premium-feel merch: thread gives the design physical presence.
If the design is simple and you want a textured, traditional finish, embroidery is the safe choice.
DTF and heat-applied methods for color and detail
Many modern hat projects open up here. DTF has surged in apparel because it can produce durable, full-color photorealistic designs on cotton and other materials that sublimation can't handle, as discussed in this video on custom hat decoration methods.
That matters because many hat designs today aren't just logos. They include illustrated art, layered color, event graphics, and brand marks that would lose too much detail in stitching.
If you need complex visuals, this route makes sense. It's also useful for small runs, test drops, and rush projects where clean setup and quick output matter. Shops already offering heat transfer custom apparel typically understand the same production logic that carries over to hats.
Here's a straightforward comparison:
| Method | Best for | Limitation |
|---|---|---|
| Embroidery | Logos, uniforms, bold text | Not ideal for photo detail |
| DTF or transfer | Full-color art, gradients, complex graphics | Surface and press setup must be right |
| Sublimation | Polyester-compatible bright graphics | Limited by material compatibility |
| Patch application | Distinctive branded look | Adds another production layer |
Patches when you want character
Patch hats sit in a different lane. They're less about reproducing flat art exactly and more about creating a branded object with its own texture and personality. Leather-look patches, woven patches, and embroidered patches can all work well when the brand wants something with a crafted feel.
This is also where a simple logo can gain more presence than it would with direct stitching alone. The trade-off is that patch work adds decision points. Shape, edge finish, attachment style, and patch material all affect the outcome.
A quick demo can help visualize the differences in finish and setup before committing to a method:
Choose the method that fits the artwork. Don't force the artwork to survive the wrong method.
What works for rush jobs
For urgent projects, decoration choice has to balance speed with reliability. Embroidery can look excellent, but the art must be suitable. Heat-applied methods move quickly when the file is ready and the blank works with the process. Patches can look premium, but they add steps and need tighter planning.
The right answer usually comes from the design itself. A clean one-color logo and a structured cap point one way. A full-color graphic on a casual blank points another.
From Production Setup to Final Quality Check
This is the part clients rarely see, and it's the part that decides whether the order looks professional or looks hurried. A good production flow isn't just about making the hat. It's about eliminating failure points before the full run starts.
The setup stage decides the finish
Before a full batch runs, the shop should confirm placement, sizing, and how the artwork behaves on the actual cap. For embroidery, that can mean a stitch sample or a digitized proof review. For heat-applied methods, it means testing pressure, placement, and edge behavior on the hat's curve.
Most production issues show up early if someone is paying attention:
- Crooked placement: obvious on the head even if it looked centered on a flat table.
- Poor scale choice: a design can be technically clean and still feel visually too small.
- Material mismatch: some hats take decoration better than others.
- Panel interference: seams, crown structure, and mesh transitions can distort the graphic.
Rush service is a real operational gap
A lot of online custom hat content is built around bulk ordering and standard production windows. Most online content on custom hats focuses on bulk orders with 10-15 day turnarounds, while businesses, teams, and event organizers often need custom apparel within 48 hours, based on this overview of the rush-order gap in custom hats.
That's why same-day and short-turn production isn't just a nice extra. It's a separate operating model. The shop has to control artwork intake, blank availability, decoration setup, and approval speed without letting quality slip.
Fast hat production only works when the file, blank, and method are aligned before the machines start.
What quality control should catch
Final inspection isn't glamorous, but it protects the whole order. Every finished hat should be checked for alignment, edge quality, clean stitching or adhesion, and overall consistency from the first unit to the last.
Clients ordering for staff, schools, or events should also look at the process behind the order, not just the mockup. A documented quality assurance process tells you more than a polished preview image ever will.
One practical note from the shop floor. Speed doesn't come from skipping steps. It comes from shortening the approval loop, choosing methods that fit the art, and catching preventable issues before they multiply.
That's the whole idea behind Quick, Quality, Printing!™. Fast production only counts when the hats still arrive looking intentional.
Real-time order visibility helps here too. If you're placing an urgent order while moving between meetings or event prep, the TSE mobile app is useful for tracking status and keeping internal approvals from going dark.
Avoiding Pitfalls and Placing Your Order
It's 10:30 a.m. on Tuesday, your event is this weekend, and the hats need to be approved before lunch or the ship date slips. At that stage, the risk usually isn't the logo. It's the order details.
Rush hat orders live or die on clean logistics. A good shop can move fast, but only if the purchase order, shipping plan, contacts, and approvals are set up before production time is reserved. I see more delays from missing billing info, split-ship confusion, and unanswered proof emails than from the pressroom.
What to lock down before you submit
Use this as a final order check, not a design review:
- Final quantity by color and style: Do not send a rough total if the order includes multiple hat options. Break it out clearly so the shop can verify stock fast.
- Delivery plan: State whether the order is shipping to one location or split across offices, stores, or event staff. Multiple destinations affect timing and freight cost.
- In-hands date: Give the date the hats must arrive, not just the date you want them to ship.
- Single approver: Assign one person to approve proofs and answer production questions. Group approvals slow rush jobs every time.
- Billing ready to go: Confirm payment method and billing contact early. Production often waits on payment approval.
- Backup option: If your first-choice hat is out of stock, decide in advance what can be swapped without another long internal discussion.
That last point saves hours.
If the order matters enough to rush, ask the shop two direct questions before you check out: “What is the latest proof approval time for my deadline?” and “What happens if my first-choice blank sells out today?” The answers tell you how the shop handles fast-turn work.
Place the order like a production schedule depends on it
For uniforms or event merch, send one spreadsheet or one clean email with everything in one place: style, color, quantity, ship-to address, deadline, approver, and billing contact. Scattered details across five emails create avoidable hold-ups, especially when customer service has to stop and rebuild the order by hand.
If you need a rush shipment, ask whether the quoted timeline includes production plus transit, or production only. Those are different promises. I always recommend getting the ship method in writing for event-driven orders, because overnight production means very little if the cartons go out on the wrong service level.
Start your custom order today with T-Shirt Envy. If you need help with artwork, rush timelines, or choosing the right hat and decoration method, upload your design online or use the TSE mobile app to keep the order moving. Experience Quick, Quality, Printing!™ and get your hats into production without the usual delays.


