Getting your t-shirt design size right is the first step toward a professional-looking product. After years in this business, we've seen it all, and nailing the dimensions is what separates the amateurs from the pros. A full-front design on an adult tee usually looks best at 10 to 12 inches wide, while a classic left-chest logo should land between 3 to 4 inches wide.
Think of these numbers as your foundation. They are the key to unlocking your creativity and creating balanced, visually appealing apparel that people actually want to wear.
Your Quick Reference Guide
Stop the guesswork. This guide is your cheat sheet for the most common t-shirt design sizes, broken down by standard placements. Whether you're a small business owner planning your next merch drop or a creator putting the final touches on a design, these dimensions will help you get it right the first time. It’s how T-Shirt Envy delivers on our promise of “Quick, Quality, Printing!™”
To get you started quickly, here's a table with the standard design sizes we recommend for most projects.
Standard T-Shirt Design Dimensions (Width x Height)
| Placement Area | Adult Size (Inches) | Youth Size (Inches) | Toddler Size (Inches) |
|---|---|---|---|
| Full Front | 10" – 12" x 12" – 14" | 8" – 9" x 9" – 10" | 5" – 6" x 6" – 7" |
| Left Chest | 3" – 4" x 3" – 4" | 2.5" – 3" x 2.5" – 3" | 2" x 2" |
| Center Chest | 6" – 8" x 6" – 8" | 5" – 6" x 5" – 6" | 4" x 4" |
| Oversized Front | 12" – 14" x 14" – 16" | N/A | N/A |
| Full Back | 10" – 12" x 12" – 14" | 9" – 10" x 10" – 12" | 5" – 6" x 6" – 7" |
| Upper Back (Yoke) | 4" – 6" x 2" – 4" | 4" x 2" | 3" x 1.5" |
| Sleeve (Short) | 3" – 3.5" x 3" – 3.5" | 2.5" – 3" x 2.5" – 3" | 2" x 2" |
These dimensions provide a great starting point for most standard t-shirts. Of course, always consider the specific garment and your design's unique shape when making final decisions.
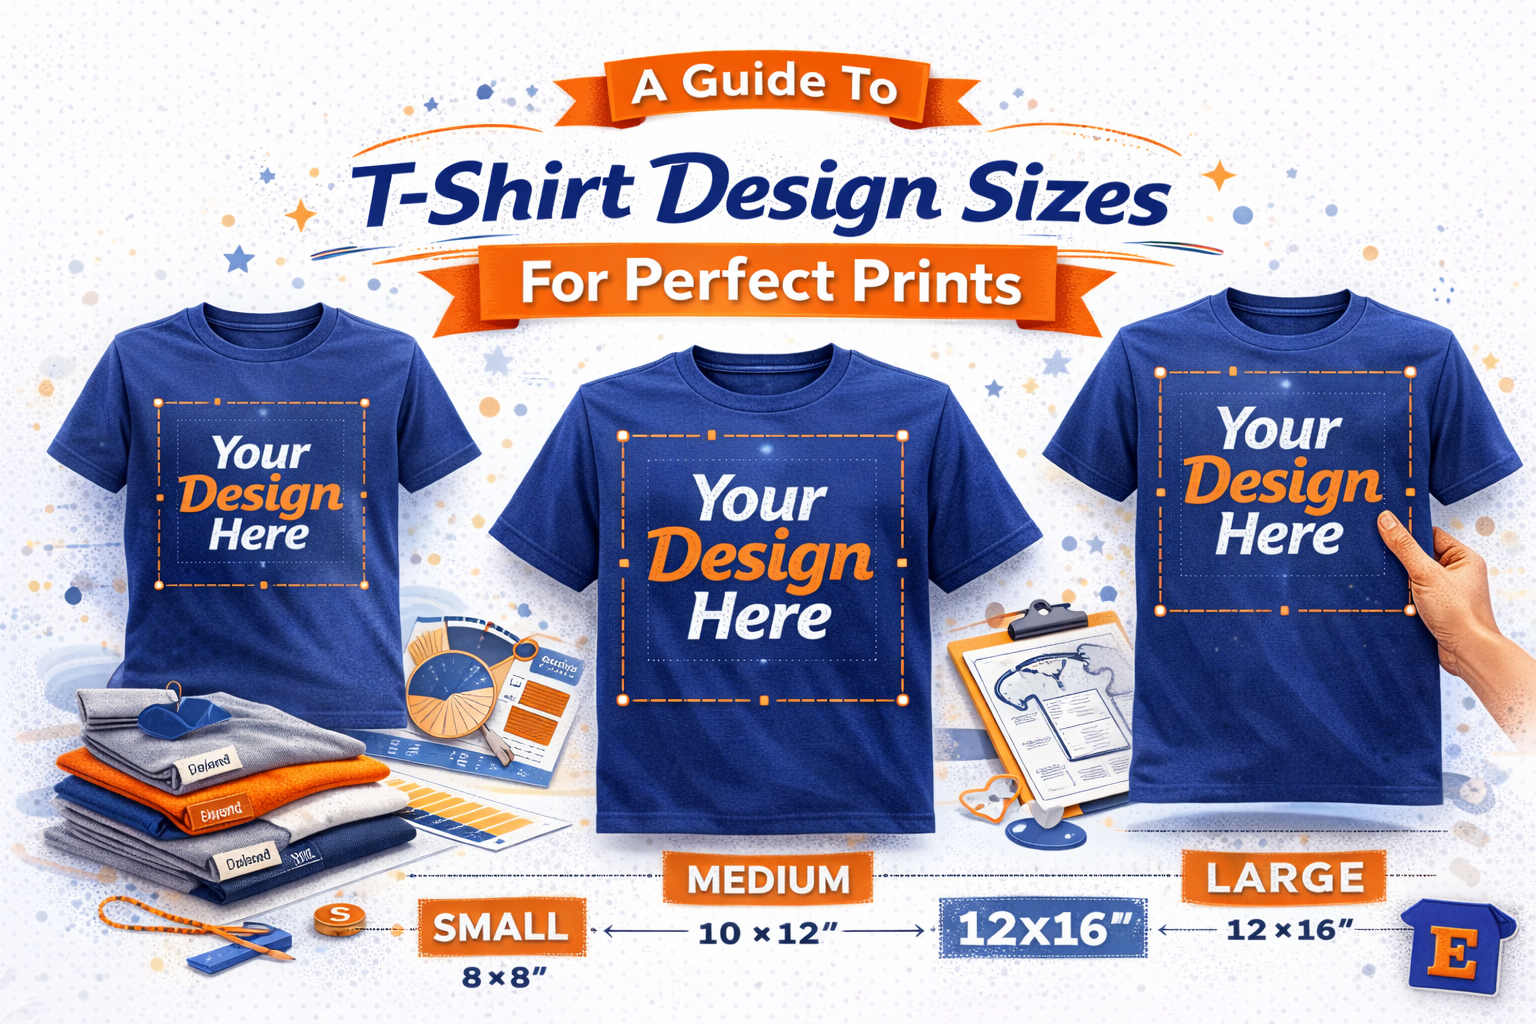
This next image is a great visual summary of how design widths need to adapt across different shirt sizes.

As you can see, you can't just use one file for every size. The artwork has to scale down significantly for smaller garments to maintain the right proportions and avoid looking awkward. Whether you're uploading a rush order on the TSE mobile app or planning a bulk run for your team, getting these dimensions right is your key to success.
Nailing Your Print Size: How to Maximize Print Area on Different Garments

It’s a simple fact: not all apparel is created equal. The maximum printable area on a size Small t-shirt is worlds apart from a 3XL hoodie, and that reality directly shapes your design's final size. Think about it—a standard adult tee gives you a generous 12-14 inches of width to work with, but a youth shirt might cap you at just 9-10 inches.
Getting these dimensions right is the difference between a clean, professional print and one that gets cut off or looks warped. This is especially true for our corporate clients placing bulk orders or creators launching a full merchandise line. Fortunately, our advanced DTG and DTF printers are built to handle different canvases, allowing our team to expertly adapt your art for maximum impact, no matter the garment.
The demand for this kind of precision is only growing. With the custom printing market expected to hit an incredible $9.59 billion by 2033, clients need reliable partners who can deliver consistent quality across every single size. You can dive deeper into this trend by exploring the full custom T-shirt printing market research.
Mastering Your Design Placement And Positioning

In the custom apparel world, positioning is everything. You can have a perfectly sized graphic, but if it's placed incorrectly, the whole shirt can look amateurish. Let's get the specifics right for that professional, retail-quality finish that makes your brand shine.
This guide gives you the exact measurements for standard placements like center chest, left pocket, full back, and sleeves. Getting this right is the key to creating a polished look across your entire merchandise line.
For example, a center chest graphic on an adult shirt typically starts 2-4 inches below the bottom of the collar. But remember, this isn't a one-size-fits-all rule. You'll need to adjust this placement for smaller youth or women's shirts to make sure the design sits at a flattering level.
Following these simple rules of thumb will prepare your files for a seamless upload on the T-Shirt Envy website or our easy-to-use TSE mobile app. This attention to detail guarantees your vision is executed perfectly, whether you're ordering one shirt for yourself or a large run for a corporate event. When you're ready, start your custom order today and experience the T-Shirt Envy difference for yourself.
Adjusting Design Sizes For Different Print Methods
The best t shirt design sizes are not one-size-fits-all; they need to be adapted for your chosen print method. Getting this right is what ensures your final product has the crisp, professional look T-Shirt Envy is known for, whether it’s a single custom piece or a massive corporate order.
Each printing technique has its own strengths and limitations. What works perfectly for one method might look muddy or fall apart with another.
Design Size Guidelines By Print Method
To help you visualize the differences, here’s a quick breakdown of how your design approach should change based on the printing method you select.
| Print Method | Best For | Min. Line Weight | Color/Detail Notes |
|---|---|---|---|
| Direct-to-Garment (DTG) | Full-color photos, gradients, and intricate details. | 0.5 pt (approx.) | No color limits. Excels at reproducing fine details and complex color blends. |
| Screen Printing | Bold graphics, logos, and text with limited colors. | 1 pt (recommended) | Each color requires a separate screen. Best for solid colors and clean lines. |
| Embroidery | Logos and text for a premium, textured look. | 18 pt (for text) | Simplification is key. Small details and gradients do not translate well into stitches. |
Understanding these guidelines from the start saves you time and ensures the final apparel looks exactly how you envisioned it.
Method-Specific Considerations
Direct-to-Garment (DTG): With DTG, you have incredible freedom. Feel free to go with complex, full-color designs that include gradients and photographic details. The printer reproduces these directly onto the fabric, so you don't have to worry about simplifying your artwork. You can learn more about how this compares to other methods in our guide to Direct-to-Film vs Direct-to-Garment printing.
Screen Printing: This classic method requires a different mindset. It's crucial to simplify your color palette and ensure your lines are thick enough to hold up on the screens. Thinner lines can get lost or break up, so bold and clean is the way to go for a sharp, durable print.
Embroidery: When it comes to embroidery, think bold. Design complexity is the main factor here. Tiny text and ultra-fine details simply won't translate well into stitches. Instead, focus on clear shapes and easily readable lettering to achieve that premium, textured finish.
Essential File Requirements For Flawless Printing
A fantastic design can fall flat if the file isn't set up correctly. This section is your go-to technical checklist for getting your artwork print-ready, ensuring your vision comes to life exactly how you imagined it.
Following these specs is the secret sauce behind our ability to deliver professional results with blazing fast turnaround times, even when you're on a tight deadline.
Technical Checklist For Print-Ready Files
- Resolution: Always, always, always design at 300 DPI (Dots Per Inch) at the final print size. This is non-negotiable if you want crisp, clear graphics instead of a blurry mess.
- File Type: For maximum flexibility, vector files (AI, EPS, PDF) are king because they scale perfectly without losing quality. If you're designing for a full-color DTG print, a high-resolution PNG with a transparent background is the way to go.
- Safe Zones: Be sure to keep critical elements like text or key parts of your logo away from the absolute edges of the design area. This prevents anything important from getting accidentally trimmed during printing.
Getting these technical details right is a huge part of the process, especially when you consider the scale of the custom apparel world. In fact, the global t-shirt market hit 22 billion units in 2024, which just shows the massive demand for well-made, custom gear. You can read more about the booming T-shirt market on IndexBox.io.
Sizing Designs For Niche Apparel And Accessories

Your brand deserves more than just t-shirts. At T-Shirt Envy, we help entrepreneurs and creators build a complete line of branded merchandise by printing on a huge range of accessories. Of course, every item comes with its own unique printable area and design rules.
A standard tote bag, for example, gives you a large, flat canvas much like a shirt—often around 14" x 14". A six-panel cap, on the other hand, has a much tighter front area, usually limited to about 4" wide by 2.25" high.
Pro Tip: Can coolers (koozies) feature a wrap-around print area. While the main front space is typically 3" x 3", the design can extend further around the sides. You'll want to design with this curve in mind to avoid any weird distortion.
Getting a handle on these specific dimensions for accessories is the key to success. It gives you the confidence to expand your product line, all managed easily through our website or the TSE mobile app.
Downloadable Templates: Putting It All Together
We've walked through the details, but now it's time to make it simple. Here you’ll find our downloadable, print-ready templates for the most popular garments we print on.
Each template is built with pre-set guides that lock in the correct t-shirt design sizes, maximum print areas, and standard placements. Just drop your artwork in, export, and you’re ready for a perfect upload. Getting this right is more important than ever—blank apparel like tees and tanks currently hold a massive 49.4% market share. You can dive deeper into the blank apparel market and its projected growth to see why precision matters.
For a complete walkthrough on getting your files print-ready, be sure to check our artwork submission guidelines. Following these templates is the surest way to guarantee your vision is executed perfectly, delivering the premium quality you expect from T-Shirt Envy.
Frequently Asked Questions About T-Shirt Design Sizes
Still have questions about getting your t-shirt design sizes just right? You’re not alone. We’ve put together answers to the most common queries we get from creators and businesses, so you can finalize your project with confidence.
What Is The Best Standard Size For A T-Shirt Design?
For a full-front design on most adult unisex tees (sizes S-XL), we find that 10 to 12 inches wide is the sweet spot. If you're going for a classic left-chest logo, keeping it between 3 and 4 inches wide looks sharp and professional.
A good rule of thumb is to always base your design on the smallest shirt size in your order. This ensures the graphic doesn't look oversized or awkward on smaller garments. Our downloadable templates are a perfect starting point for nailing these dimensions.
Do I Need Different Design Files For Every T-Shirt Size?
Generally, no. You can create one master design file that’s sized for a common garment, like a Large, and our production team can scale it appropriately for smaller sizes.
However, if your order includes a very wide range—say, from Youth Small all the way up to Adult 3XL—we strongly recommend providing two master files. Creating one for youth sizes and another for adult sizes guarantees the proportions will look great across every single tee in your order.
How Can I Check My Design Size And Resolution?
You can easily check your file’s properties right inside your design software. Whether you use Adobe Photoshop or Illustrator, just look for the image size or artboard dimensions. For a crisp, professional print, your file must be 300 DPI (Dots Per Inch) at its final print size.
For a quick, foolproof check, just upload your design to the TSE mobile app. Our app will instantly flag any resolution issues, alerting you if the quality is too low for your chosen print size. It’s a simple way to avoid blurry prints before you even place an order.
Ready to see your design come to life with perfect sizing? The team at T-Shirt Envy is here to make sure your vision is printed flawlessly. Start your custom order today.


