
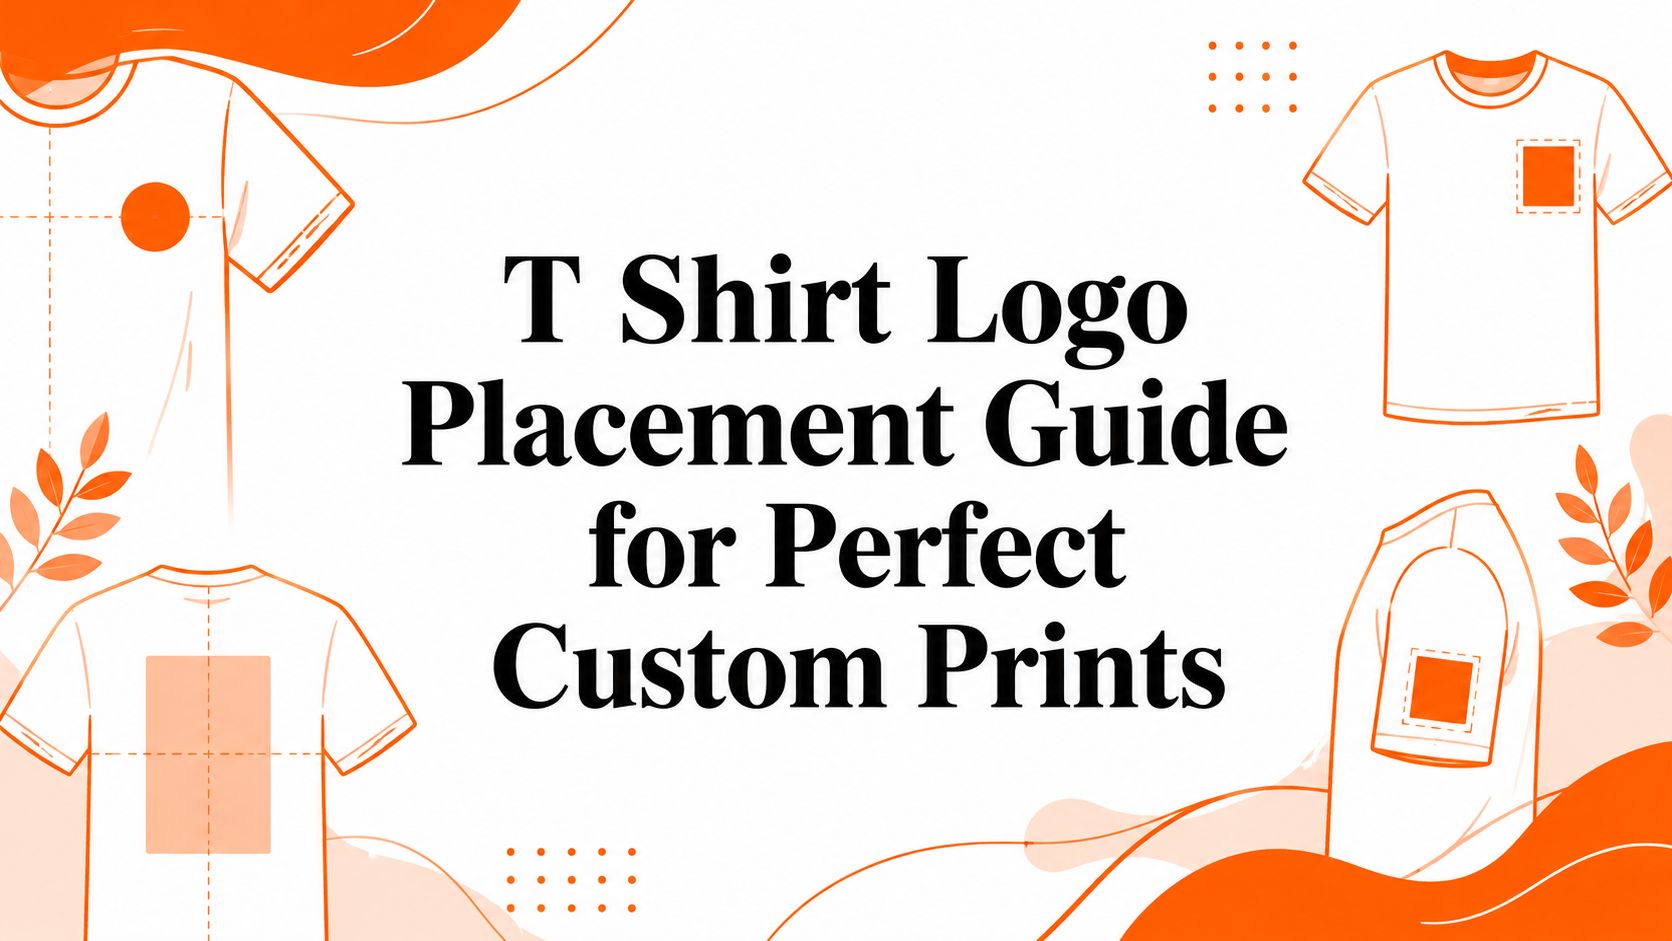
You've opened a box of custom shirts and immediately noticed the problem. The logo is technically on the correct side, but it sits too high on some garments, too low on others, and awkwardly close to a seam on the rest. That's exactly why a reliable t shirt logo placement guide matters before artwork reaches the press.
Professional placement depends on more than centering a design on a digital mockup. Garment cut, body shape, print zone, fabric behavior, and decoration method all affect the finished result. The measurements below give brands, schools, teams, creators, and corporate buyers a practical production baseline, while the fit and print-method guidance helps you avoid the gaps that generic charts often overlook.
Why Logo Placement Decisions Make or Break Your Custom Shirts
A left-chest logo can look polished on a product preview and still feel wrong on a real person. If it sits too close to the neckline, it competes with the collar. If it drops toward the stomach, the garment loses the clean visual connection people expect from a uniform or branded polo.
Standardized placement rules exist because shirts have stable visual landmarks. Collars, shoulder seams, armholes, plackets, side seams, and hems give decorators repeatable reference points. The human eye also expects branding to sit within a balanced upper-torso area, not wherever the blank space happens to look convenient on a screen.
Practical rule: Measure from the garment, not from the edge of the artwork file.
The production risk is greater on a bulk order. A small placement error repeated across a large run becomes a consistent brand problem. Employees may feel uncomfortable wearing the shirts, event photos can make the issue obvious, and a rushed reprint can disrupt a launch or trade show schedule.
Why visual balance matters
The left chest is popular because it stays visible during introductions, conversations, and handshakes without overwhelming the garment. It also works across tees, polos, and workwear, which makes it a durable starting point for uniforms and organizational apparel.
Mainstream placement guides converge around the same practical window for adult left-chest branding, roughly 3 to 4 inches below the collar, about 4 to 6 inches from the centerline or armhole area, with artwork commonly sized around 3.5 by 3.5 inches to 5 by 5 inches. See the Printful t-shirt design placement guide for the established measurement range.
What goes wrong when teams guess
Eyeballing creates different problems on different zones:
- Too high: The logo crowds the neckline or placket.
- Too low: The mark drifts toward the stomach and loses professional impact.
- Too wide: The design wraps around the side of the torso or competes with the garment shape.
- Too close to a seam: Uneven pressure can distort edges or interrupt the print.
- Too small: Fine details disappear, especially on textured fabric or curved surfaces.
A written placement specification protects the order. It tells the decorator which landmark to use, where the design should sit, and how the artwork should scale across the garment range.
Standard T Shirt Logo Placement Measurements by Zone
Use stable garment landmarks for every placement decision. The collar seam works well for front and back drops, the shoulder and armhole help establish left-chest alignment, the sleeve seams define the printable panel, and the hem stitch anchors lower placement.
For adult garments, larger front artwork commonly starts 2 to 3 inches below the collar, while centered chest designs are often placed 3 to 4 inches below the neckline. Full-front artwork is commonly around 12 by 14 inches, and sleeve marks are usually much smaller. These conventions are summarized in the VistaPrint t-shirt design placement guide.
Reference measurements by location
| Placement Zone | Drop from Reference Point | Max Width | Alignment Anchor |
|---|---|---|---|
| Left chest | Roughly 3 to 4 inches below collar | Typically 3.5 by 3.5 inches to 5 by 5 inches | Between centerline and armhole area |
| Center chest | About 3 to 4 inches below neckline | Use the design's intended chest width | Garment centerline |
| Full front | About 2 to 3 inches below collar | Commonly around 12 by 14 inches | Garment centerline |
| Full back | Below the collar, keeping clear of the neck bunching area | Commonly around 12 by 14 inches | Centerline between shoulder seams |
| Sleeve | Centered within the sleeve panel | Usually around 3 by 3 inches or 1 to 4 inches wide | Sleeve seams and panel center |
| Back collar or upper back | Close below the rear neckline | Small secondary mark | Centerline beneath rear collar |
| Hem | Above the bottom seam | Small brand detail | Parallel to hem stitch |
The visual logic behind each zone
Left chest: Place the logo in the upper-torso balance area. It should read naturally during face-to-face interaction without becoming the entire shirt.
Center chest: Keep the artwork high enough to remain on the chest, not the abdomen. A centered design needs optical balance as well as mathematical centering, especially if the artwork has a heavy icon or uneven text.
Full front and full back: Larger graphics need breathing room around the neckline and side seams. Back prints generally sit lower than back-collar marks, but shouldn't drop so far that the design folds or disappears when the wearer moves.
Sleeve: The arm is a curved, moving surface. Smaller graphics adapt better than wide, rigid artwork, particularly when the design needs to remain readable from the side.
Hem: A lower mark can add a retail-style finish, but it isn't suitable for garments that will be tucked in or heavily stretched.
For artwork-specific sizing guidance, use T-Shirt Envy's t-shirt design sizes resource alongside the garment template supplied for your order.
Adjusting Placement for Different Shirt Sizes and Fits
A standard adult unisex template can't serve every garment cut. Women's fitted shirts, youth garments, and larger adult sizes change the relationship between the neckline, bust or chest area, side seams, and printable surface.
Detailed placement guidance recognizes this problem. Women's shirts may need the logo about 1 inch higher, while youth logos are often scaled to about 2 to 3 inches wide, as outlined in ShirtSpace's logo placement guidance.
Placement offset matrix
| Garment Fit or Size | Zone | Offset Adjustment | Reason |
|---|---|---|---|
| Women's fitted shirt | Left chest | Move about 1 inch higher and slightly inward | The bust line and narrower chest panel change the visual center |
| Youth garment | Front logo | Scale the logo down to about 2 to 3 inches wide | Smaller torso proportions can make adult artwork look oversized |
| Youth garment | General front placement | Check the garment-specific collar-to-chest relationship | A shorter torso changes the apparent drop |
| Larger adult garment | Left chest | Recheck outward alignment from the centerline | Folds and broader panels can swallow a logo placed too close to the center |
| Larger adult garment | Back graphic | Recheck height against the shoulder curve | A low design can become less visible when the fabric drapes |
Women's fitted tees often need a modest upward shift and a slight inward adjustment because the upper-torso landmarks differ from a straight unisex cut. Don't copy the adult template and approve the proof. Review the logo on the actual women's style.
Youth garments need their own proofing logic. A design that looks restrained on an adult shirt can dominate a child's garment, especially when the artwork includes large lettering, dense fills, or a tall illustration. Scaling the logo down helps, but the collar, shoulder, and sleeve relationships still need a visual check.
Mixed-size bulk orders
The safest approach is to create a placement plan by garment family rather than one universal instruction. Separate the specifications for unisex adult, women's, youth, and larger adult garments, then ask the decorator to show representative proofs.
A logo can be mathematically centered and still look visually misplaced. Fit changes the landmarks your eye uses.
This extra review is especially important for schools, teams, and events ordering mixed sizes. Consistency doesn't mean forcing every garment to use identical coordinates. It means preserving the same visual relationship between the logo and the garment's construction.
How Print Methods Affect Logo Size and Placement Options
The decoration method determines what the garment can physically support. A screen print may need a flat, stable panel, while a transfer can adapt more easily to a sleeve or blended fabric. Embroidery adds texture and structure that changes the size and detail equation altogether.
Method-by-method production fit
| Print Method | Left Chest | Center Chest | Full Back | Sleeve | Hem | Max Detail Level | Best For |
|---|---|---|---|---|---|---|---|
| DTG | Strong for detailed logos on suitable garments | Strong for illustrated artwork | Suitable for complex graphics | Depends on garment access and platen setup | Requires careful garment handling | High detail | Cotton-rich, full-color artwork and small runs |
| DTF | Flexible for logos and mixed fabric types | Strong for bold and detailed designs | Suitable for durable transfer graphics | Useful on curved or narrow panels | Flexible, provided the area is stable | High detail | Blends, specialty zones, and fast production |
| Screen printing | Reliable on flat chest and back panels | Excellent for bold designs | Excellent for larger runs | Possible with suitable setup | More difficult near seams and edges | Strong for simplified artwork | Larger quantities and consistent spot-color graphics |
| Embroidery | Traditional and professional | Limited by garment structure | Possible for selected applications | Suitable for compact marks | Generally unsuitable for lightweight hems | Lower detail at small sizes | Premium logos on structured apparel |
| Embroidery | Keep small and clear | Avoid dense, oversized fills | Use stable fabric and simplified art | Compact marks work best | Avoid unstable or thin edges | Fine text can become unreadable | Polos, jackets, hats, and workwear |
The table is a planning tool, not a substitute for a production proof. Screen printing works best when the print area is flat and accessible. Seams, collars, pockets, and hems create pressure changes that can interrupt registration or ink coverage.
Detail, fabric, and finish
DTG can reproduce intricate artwork effectively on appropriate cotton-rich garments, but dark fabrics may require pretreatment and careful color handling. DTF gives decorators more flexibility across fabric blends and curved areas, though the transfer's surface feel and coverage should match the garment's intended use. T-Shirt Envy's comparison of direct-to-film and direct-to-garment printing helps frame that decision.
Embroidery has the strictest small-detail limits. Fine text under 0.25 inches can become illegible, dense fills can pucker lightweight tees, and left-chest embroidery should generally stay under 4 inches to reduce distortion. These constraints make embroidery a strong choice for simplified marks on polos, jackets, and structured garments, not tiny detailed artwork on a thin tee.
Choose the method after considering the artwork, garment, placement zone, quantity, and deadline. A fast production schedule won't help if the chosen method can't produce the requested detail cleanly.
Using Mockups and Templates to Verify Your Design
A digital proof is the final checkpoint before production. It should show more than the artwork itself. It needs to demonstrate scale, alignment, garment style, garment color, and how the mark relates to the collar, seams, and usable print area.

A repeatable proofing workflow
Download the correct blank template. Use the supplier's template for the exact garment style, not a generic tee. A fitted shirt, polo, and heavyweight tee can have different usable areas.
Place the artwork at production size. Import the logo into Photoshop, Illustrator, or an online mockup generator. Set the dimensions from the placement plan instead of resizing until the preview looks attractive.
Align to garment landmarks. Use the collar seam, shoulder seam, sleeve seam, side seam, and centerline. Check both mathematical alignment and optical balance.
Review every garment family. Create proofs for the size and fit groups in the order. A logo that looks right on an adult medium can feel too low, too high, too wide, or too dominant on another cut.
Export a controlled approval set. Name files by garment, color, placement, and version. Send the complete set to stakeholders and request written approval for placement, artwork, spelling, and color.
Keep the approved files in one folder and remove outdated versions from the production handoff. That simple habit prevents a revised logo from being mixed with an earlier placement file.
For artwork preparation and design setup, use T-Shirt Envy's guide to designing prints for t-shirts. The key is to proof the actual production scenario, not just the most flattering digital preview.
Placement Recommendations for Brands Events and Teams
The right zone depends on what the shirt needs to accomplish. A staff uniform should identify the wearer during conversation, while a fundraiser shirt needs to read in photographs and group settings. Retail apparel can use placement as part of the product design rather than treating the logo as a simple identifier.
Match the zone to the use case
- Corporate events and trade shows: Choose a left-chest logo in the established professional range, often 3 to 3.5 inches wide. It stays visible during conversations and remains wearable after the event.
- Staff uniforms: Use left chest as the primary mark. Add a sleeve or upper-back detail only when the role, location, or service message needs secondary visibility.
- Sports teams and recreational leagues: Use a bolder center-chest or full-back treatment for team recognition, with a smaller crest or supporting mark where the uniform stays balanced.
- Fundraisers and charity events: Favor a clear center-chest graphic that reads in group photos. Keep the main message visually simple enough to identify at a glance.
- Retail merchandise: Consider a restrained left chest, sleeve print, hem detail, or back-collar mark. These zones can make the garment feel intentional without filling every available surface.
- Giveaway and promotional shirts: A back graphic or sleeve mark can support visibility when the wearer is moving through a crowd, while a smaller front mark identifies the organization.

A useful combination is one dominant placement and one supporting placement. A company might pair a left-chest logo with a back message, while a creator might use a small hem mark with a large illustrated back design. Too many competing marks can make the shirt look like a collection of proofs rather than a finished product.
For organizations working under a deadline, T-Shirt Envy offers DTG, DTF, screen printing, embroidery, and other custom apparel production options, with ordering support through its website and the TSE mobile app. Customers can use the app to upload designs, place orders on the go, and manage production details without waiting to return to a desktop.
Your Pre-Order Checklist for Fast Custom Apparel Results
A short review before approval protects the schedule. Use this checklist for bulk, corporate, school, team, fundraiser, and rush apparel orders.
- Confirm the garment: Verify the exact shirt style, color, fabric, fit, and size breakdown.
- Confirm the artwork: Use the correct logo file and make sure the design has enough resolution and clean edges for the selected method.
- Lock the placement: Record the zone, drop from the collar or other landmark, width, height, and alignment anchor for each garment family.
- Match the print method: Choose DTG, DTF, screen printing, embroidery, or another method according to fabric, detail, surface shape, and order requirements.
- Approve the proof: Review the mockup at full size, check spelling and color, and confirm every placement before production starts.
Rush orders often fail because someone approves a single adult proof for a mixed-size run, overlooks a pocket or seam, or submits artwork that needs last-minute rebuilding. Catch those issues before the production slot is reserved. T-Shirt Envy supports fast-turnaround custom printing for individuals, teams, businesses, creators, and organizations, including bulk and corporate orders, with website ordering and mobile order management.
Start your custom order with T-Shirt Envy, where you can match your artwork to the right placement, garment, and print method with production support for fast turnaround needs. Upload your design through the website or TSE mobile app, request help with a complex size run, and experience Quick, Quality, Printing!™ without leaving placement to guesswork.


